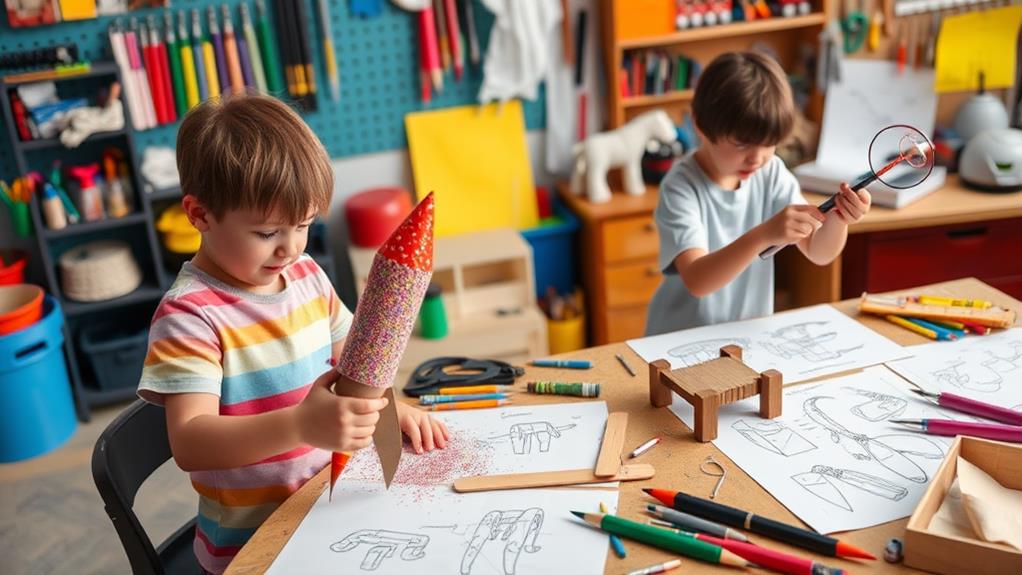
11 Simple Yet Thrilling Invention Ideas For Kids
Imagine your child transforming everyday materials into innovative projects that ignite their imagination. These 11 simple yet thrilling invention ideas not only foster creativity but also introduce essential scientific concepts through hands-on learning. From a solar oven that harnesses the sun’s energy to a balloon-powered car demonstrating propulsion, each activity offers a unique opportunity for exploration. Curious about how these inventions can enhance problem-solving skills and teamwork? Let’s explore the possibilities that lie within each project, revealing how they can make learning both engaging and fun.
DIY Water Filter
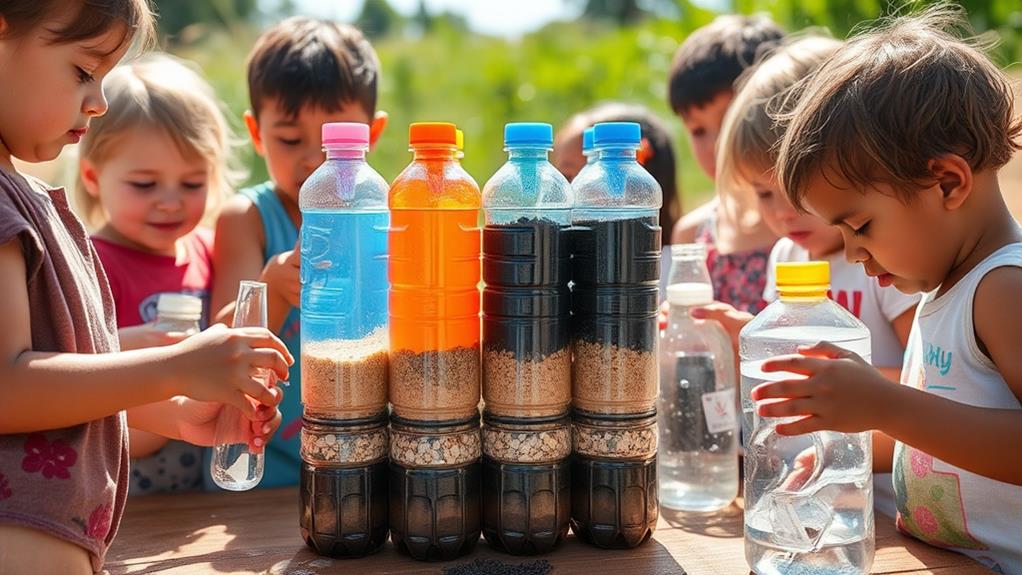
Creating a DIY water filter is a fun and educational project that teaches kids about water purification. You’ll need some simple materials like a plastic bottle, sand, gravel, and charcoal.
First, cut the bottle in half and flip the top half upside down, like a funnel. This will be your filter!
Next, layer the charcoal at the bottom. Charcoal is great at removing impurities, and it makes the water taste better too! On top of that, add a layer of sand. Sand catches smaller particles that the charcoal might miss. Finally, put some gravel on top. Gravel helps to catch larger debris, like leaves or dirt.
Now, pour some dirty water into your filter. Watch as it trickles down, and you’ll soon see clean water coming out from the bottom! It’s like magic, but it’s science!
You can experiment by using different materials or changing the order of the layers. Just remember, while this filter can clean water, it’s not for drinking without proper testing.
Still, it’s a fantastic way to learn about how we can make our water cleaner, and who knows, it might inspire you to invent something even bigger!
Balloon-Powered Car
A balloon-powered car is a thrilling project that combines fun and science, allowing kids to explore the principles of propulsion and motion. Imagine creating a miniature vehicle that zooms across the floor just by the power of a balloon! It’s not only exciting, but it also teaches you about air pressure and energy.
To get started, gather some simple materials like a balloon, a plastic bottle, straws, and wheels—these can be bottle caps or even LEGO pieces. First, attach the wheels to the bottle, making sure they can spin freely.
Next, cut a straw and stick it into the bottle’s neck, securing it with tape. Inflate the balloon, pinch it to keep the air inside, and then attach it to the straw. When you let go, the air rushes out, propelling your car forward.
You might even hold a race with your friends to see whose car goes the fastest! Just remember, the size of the balloon and the weight of the car can affect how far and fast it travels.
Solar Oven
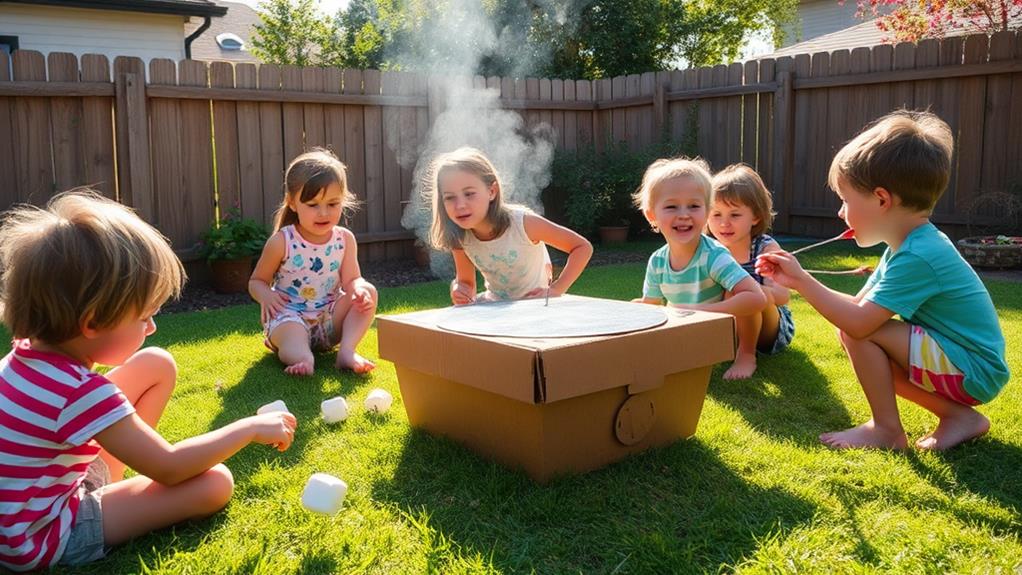
After racing balloon-powered cars, it’s time to shift gears and harness the sun’s energy with a solar oven. This cool invention lets you cook food using just sunlight! Imagine making s’mores or melting cheese on a sunny day without any electricity. Sounds fun, right?
To create your solar oven, you’ll need a cardboard box, aluminum foil, plastic wrap, and some black paper. Start by lining the inside of the box with black paper to absorb heat.
Then, cover the top of the box with plastic wrap, sealing it tightly. This creates a greenhouse effect, trapping the sun’s warmth inside. Next, use aluminum foil to reflect sunlight into the box. You can even create a flap with foil to direct more sunlight inside!
Once your solar oven is ready, place it outside where it gets plenty of sun. Make sure to check on your food periodically. Depending on the sun’s strength, your treats might take a bit longer to cook than usual, but hey, good things come to those who wait!
Homemade Musical Instruments
Making music doesn’t require expensive instruments; you can create your own right at home!
Let’s explore the fun world of homemade musical instruments. You’ll be amazed at how easily you can turn everyday items into a symphony of sound.
First up, grab some empty containers and fill them with different materials. Rice, beans, or even pebbles make fantastic shakers. Just seal the tops, and you’ve got a percussion instrument!
Want to try something else? Grab some rubber bands and a tissue box. Stretch the bands over the box to create a simple guitar. Pluck them, and you’ll hear some cool tunes!
If you’re feeling adventurous, make a straw flute! Cut straws into different lengths, then tape them together. Blow through the top, and you’ll create notes that would make any bird jealous.
Recycled Bottle Planter
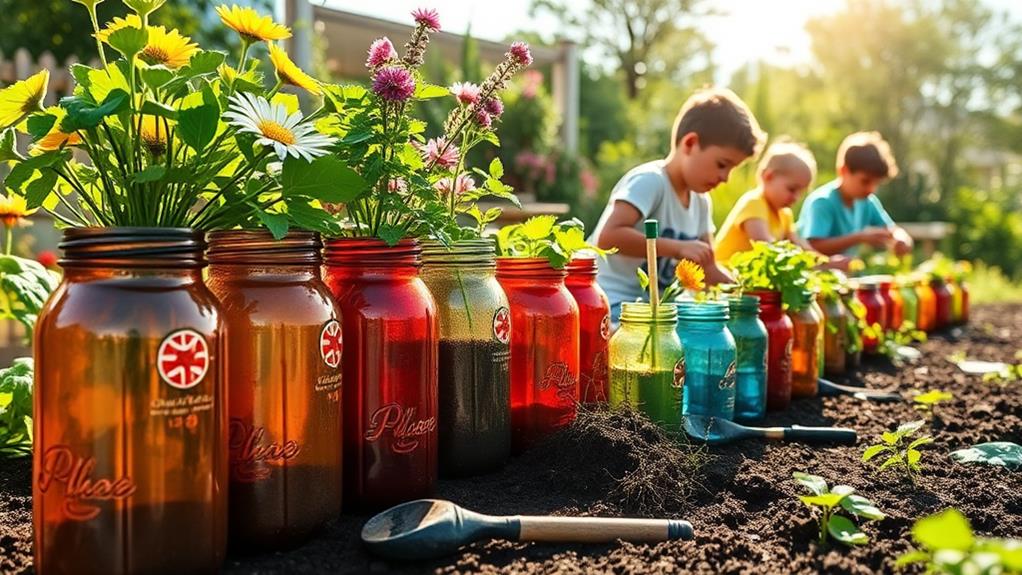
Transforming an empty plastic bottle into a vibrant planter not only helps the environment but also sparks creativity. You’ll need a few simple supplies: a plastic bottle, scissors, soil, and some seeds or small plants.
First, grab your bottle and rinse it out. Then, carefully cut the bottle in half. You can use the bottom half to hold the soil and plants, while the top half can act as a mini greenhouse if you leave it on top.
Next, poke a few holes in the bottom for drainage. No one likes soggy roots! Fill the bottom half with soil, and plant your seeds or small plants.
You can even paint the outside of the bottle to match your room or to add a splash of color to your garden. If you’re feeling adventurous, try creating different shapes or designs.
Before long, you’ll have a beautiful planter that not only looks great but also teaches you about caring for plants. Plus, it’s a fun way to recycle!
Who knew a bottle could turn into a little piece of nature? So, roll up your sleeves and get planting!
Paper Rocket Launcher
Get ready to launch your creativity sky-high with a paper rocket launcher! This fun and simple project lets you become a mini-engineer while having a blast.
All you need are a few supplies: a plastic bottle, some paper, scissors, and a straw.
Start by cutting a piece of paper into a triangle shape. This will be your rocket’s nose cone. Next, roll the paper into a tube and tape it shut. Attach the nose cone to one end.
Now, grab your straw and insert it into the bottle’s opening. You’re almost ready for liftoff!
To launch your rocket, fill the bottle with a little water. Cover the opening with your hand, and when you’re ready, let go! The air pressure will push the rocket out, sending it flying into the sky.
Don’t worry if it doesn’t go far at first—experiment with different rocket designs and water levels to see what works best.
Simple Circuit Tester

Creating a simple circuit tester is a fantastic way to explore the basics of electricity and circuits. You’ll need a battery, a small light bulb, some wires, and a few clips. Don’t worry; you can find these items around your home or at a local store!
Start by connecting one wire to the battery’s positive terminal. Then, attach the other end of that wire to the light bulb’s metal base. Next, take another wire and connect one end to the light bulb’s side, and the other end to the battery’s negative terminal. If everything’s connected properly, the light bulb should light up!
This circuit tester is like a magic wand for discovering whether batteries or bulbs are working. If the bulb doesn’t light up, it might mean the battery’s dead or there’s a loose connection. You can also use your tester to check other devices around the house, like old toys or gadgets.
Just remember, electricity can be tricky, and safety comes first! Always have an adult nearby to help. Enjoy your experiments, and who knows? You might just uncover the next big invention!
Wind-Powered Generator
Harnessing the power of the wind with a wind-powered generator is an exciting project that combines science and creativity. You can create your very own mini generator using simple materials. First, gather a small motor, some wires, a plastic bottle, and a few craft supplies. You’ll be amazed at how easy it is!
Start by cutting the bottle in half to create the turbine. Attach blades made from cardboard or plastic to the top. When the wind blows, it’ll make the blades spin, and that’s when the magic happens! Connect the motor to the blades, and watch as it generates electricity. It’s like having your own miniature power plant!
Don’t forget to test it out on a breezy day. You might even want to decorate your generator to give it some flair. Who says science can’t be fun and stylish?
Plus, as you watch it whirl, you’ll feel proud knowing you’ve created something that harnesses renewable energy. It’s a fantastic way to learn about wind power while showing off your inventive skills.
Marshmallow Catapult

Building a marshmallow catapult is a fun way to explore physics while indulging in a tasty treat! You’ll get to launch marshmallows across the room, and the best part? You can eat your “ammo” afterward!
To create your catapult, you’ll need some craft sticks, rubber bands, and a spoon. Start by stacking two craft sticks and securing them with a rubber band at one end. Then, create a “V” shape with two more sticks and attach them to the top of the stack. Secure everything with more rubber bands, and you’ve got your base!
Now, for the launching mechanism, take a spoon and attach it to the top of the “V” using a rubber band. When you place a marshmallow in the spoon and pull it back, you’re ready to launch!
Experiment with different distances and angles to see how far you can send those fluffy treats flying. Don’t forget to measure your launches and keep track of your results! This isn’t just a cool project; it’s a fantastic way to learn about force, motion, and angles.
Plus, you get to snack on marshmallows afterward—what’s not to love?
Egg Drop Challenge
After launching marshmallows with your catapult, it’s time to put your engineering skills to the test in the Egg Drop Challenge! This fun experiment is all about protecting an egg from a high fall. You’ll need to design a contraption that can cushion your egg so it won’t crack. How cool is that?
First, gather your materials. You can use things like cardboard, straws, tape, and even balloons. The goal is to create a protective shell around your egg, but remember, it’s gotta be lightweight! You don’t want your design to weigh it down.
Next, think about how you can slow down the egg’s fall. Maybe adding some parachute-like features will help? Experimentation is key here, so don’t be afraid to try different designs.
Once you’ve built your masterpiece, it’s time for the big drop! Find a safe spot from which to drop your egg, and prepare for some excitement.
When you drop it, watch closely! Did your egg survive? If it didn’t, don’t worry; it’s all part of the fun. Analyze what went wrong, and try again. You’ll learn a lot while having a blast!
Shadow Puppet Theater
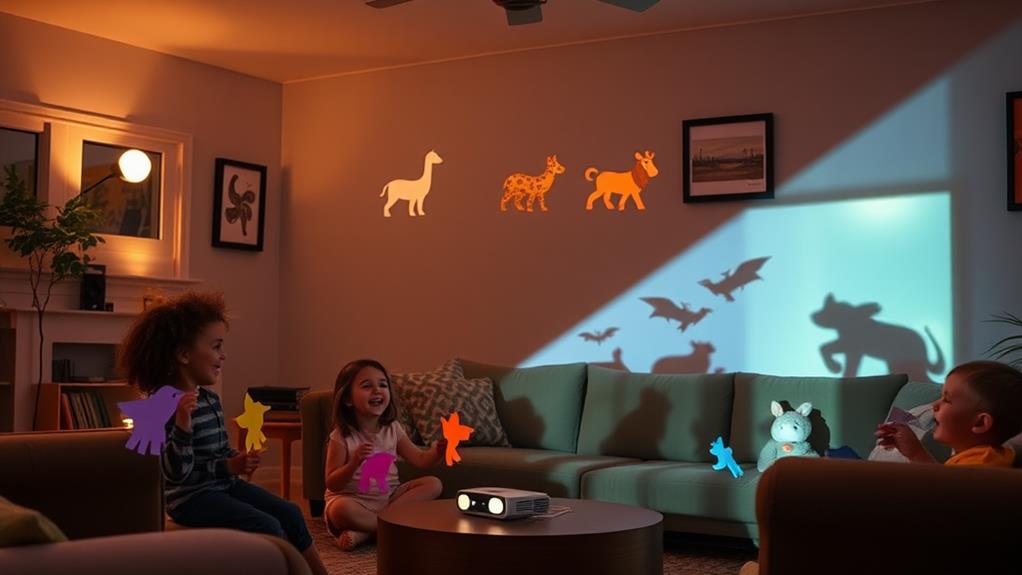
While you might think shadow puppets are just for kids, creating your own Shadow Puppet Theater can be a fantastic way to express your creativity and tell stories. All you need is a light source, a blank wall, and some cut-out shapes. Grab some cardboard, scissors, and a stick or two, and you’re on your way! You can make animals, characters, or even silly monsters—whatever your imagination conjures up.
Once you’ve got your puppets ready, invite your friends or family to join in. You can create a mini-show where you act out a favorite story or invent your own wild tale. Don’t forget to add some sound effects or music to make it more exciting. The best part? You can change the story every time, so it never gets old!
If you want, you can even decorate your theater with drawings or fairy lights. Just remember, the more you practice, the better your performance will be.

